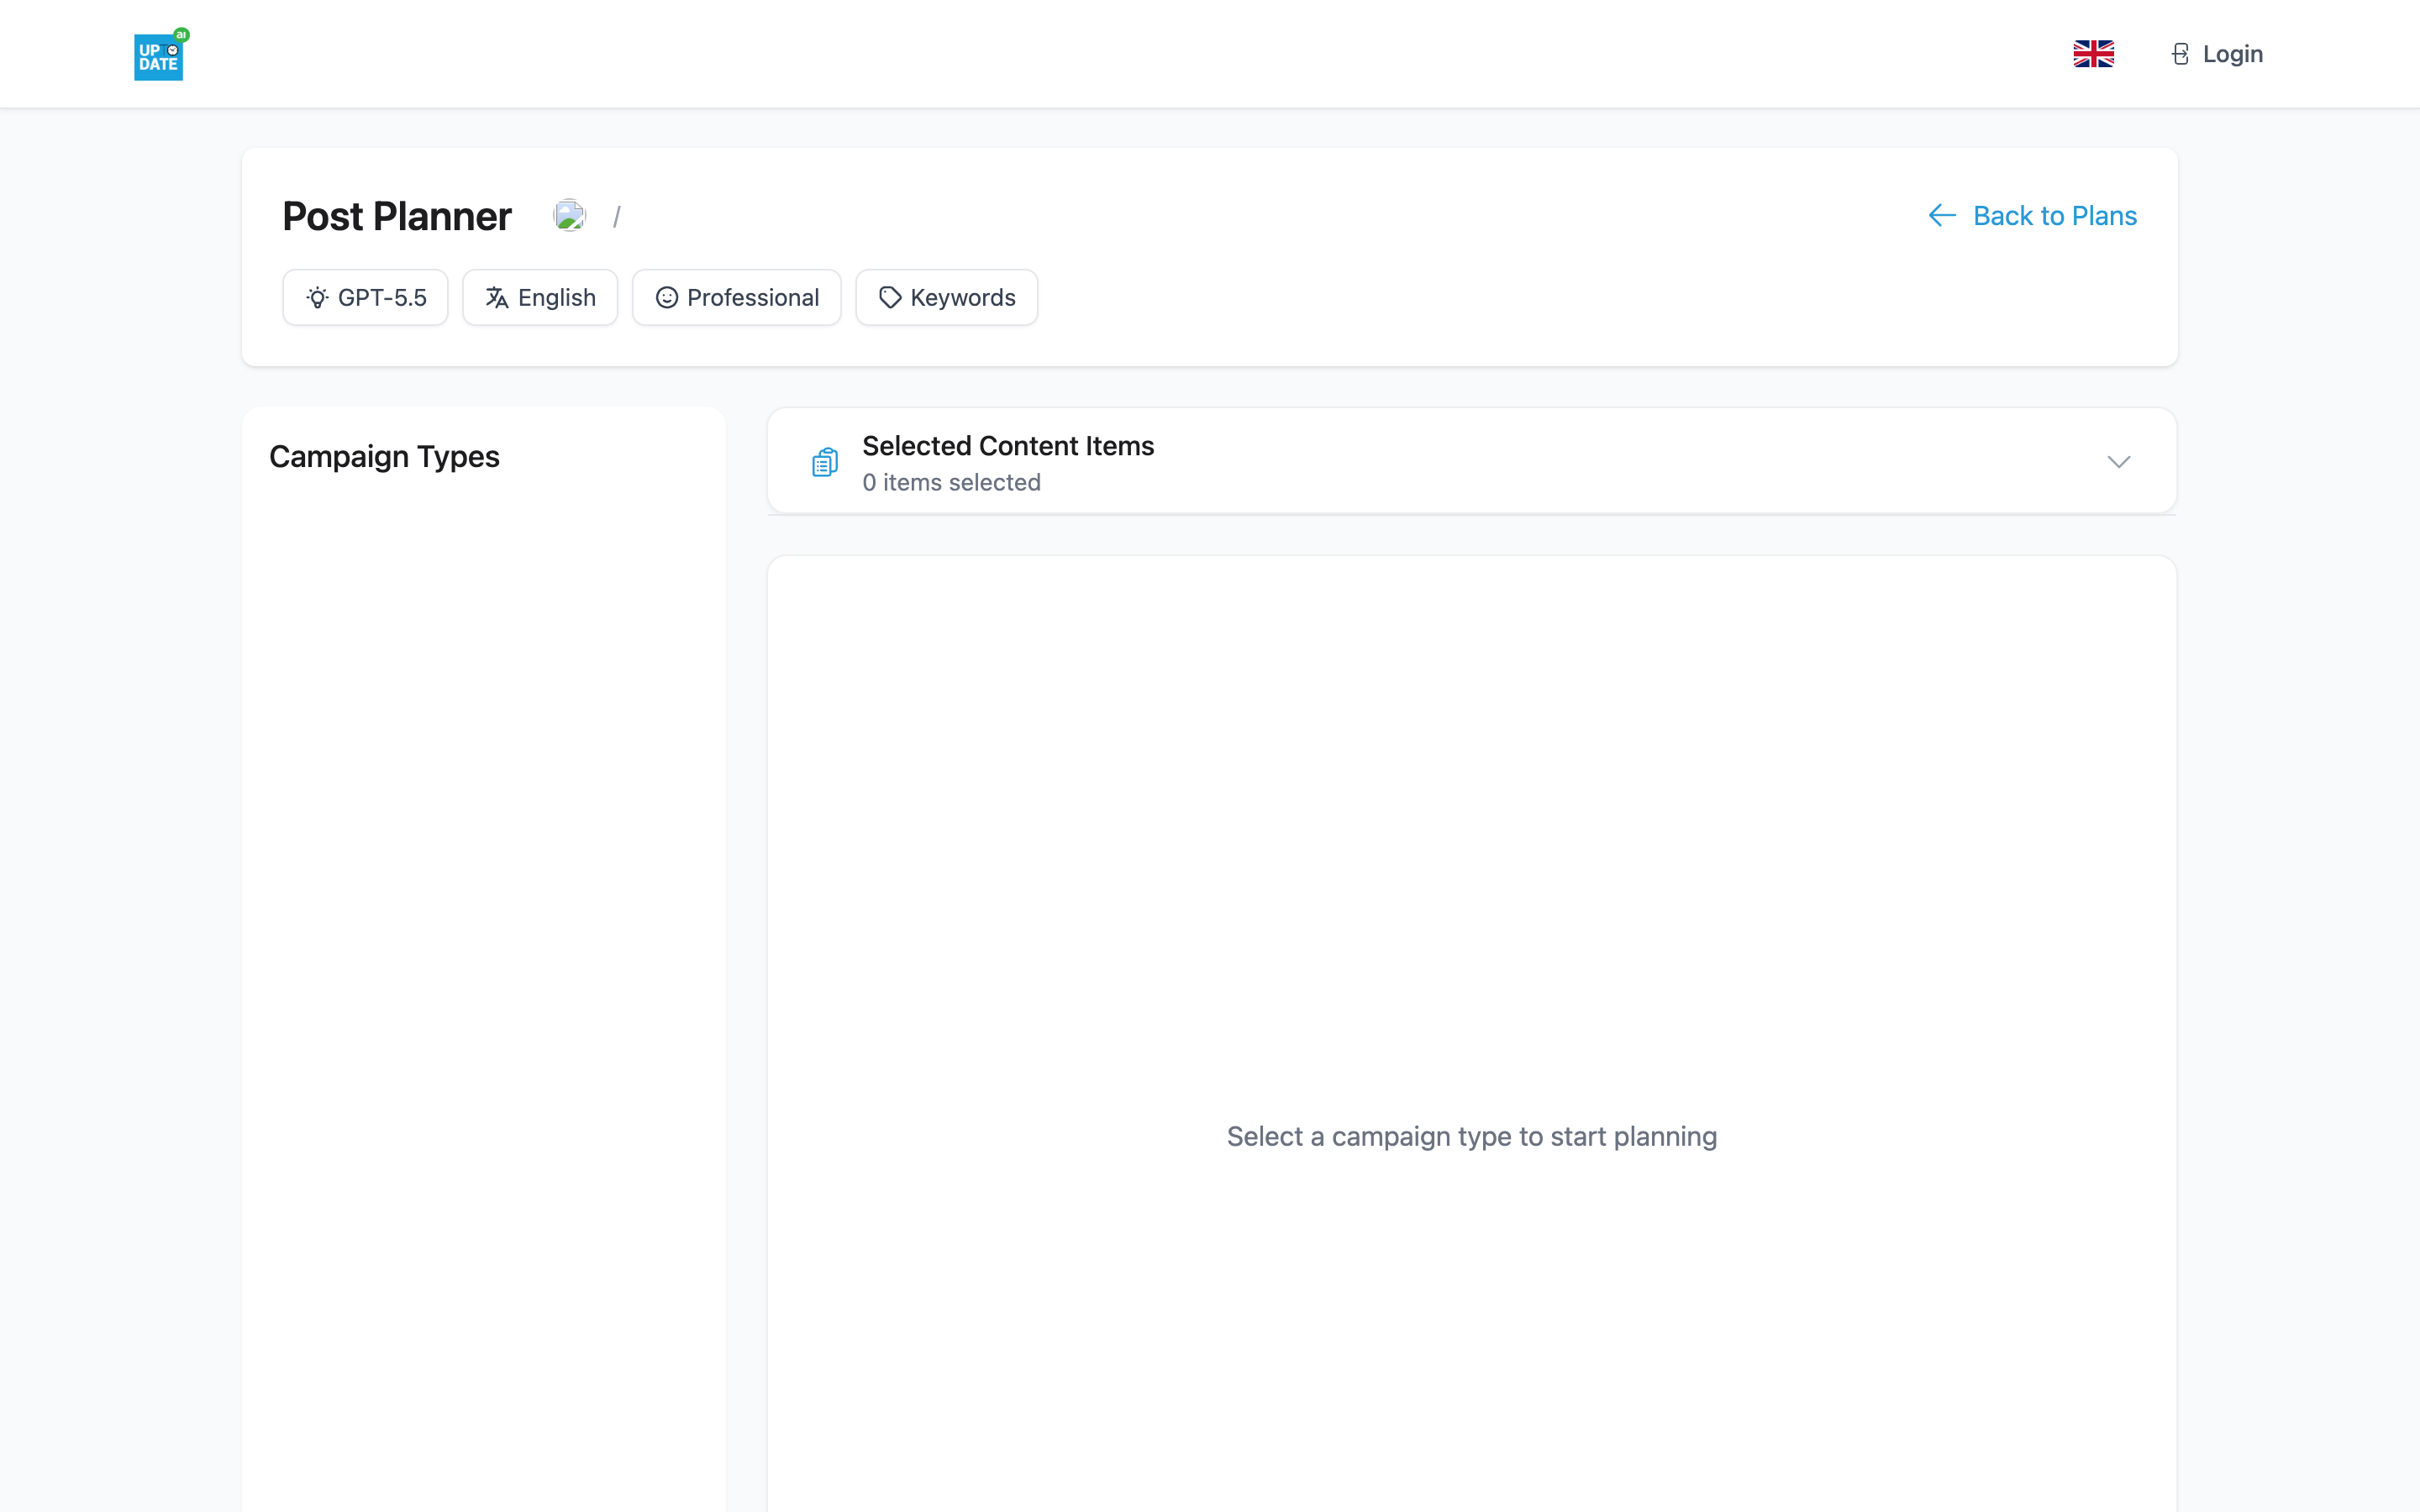
The Post Planner helps you plan a series of blog posts in one go. You pick a campaign type, let the AI suggest ideas, select the ones you like, and set a publishing schedule. You can then save the plan for later or let the AI start writing all the drafts right away.
Before you start
Select the right company and website in the top bar. The plan and its drafts belong to that website. See Choosing your company and website.
The Post Planner card is not shown to users with the Reporter role on the website.
Opening the Post Planner
Click the Post Planner card in the Most Used section of the AI App dashboard.
At the top you see the options bar with the AI model, keywords, language and tone. Back to Plans takes you to your Content Plans.
Step 1: Generate ideas per campaign type
In the Campaign Types list on the left, click a campaign type.
Optional: click Add Instructions to guide the AI for this campaign. In Custom Instructions for the campaign, type your instructions (for example "Focus on educational content, use simple language") and click Save Instructions. A green check shows on campaigns that have instructions.
Click Generate Ideas. The campaign shows Generating... while the AI works. Click Cancel Generation to stop.
The ideas appear as cards with a title and description. Click View Details to read more.
Click the + on a card to select it, or click Select All.
Repeat for other campaign types if you want a mix.
Important: Generated ideas are not saved on their own. If you reload or leave the page before you save the plan, they are gone.
Step 2: Review your selection
The Selected Content Items panel lists everything you picked, with a count of selected items.
Click the pencil (Edit content) to open Edit Content Item, change the Title: or Description:, and click Save Changes.
Click the trash icon (Remove from selection) to drop an item.
When you're happy, click Next Step. On a phone, tap Next in the bar at the bottom.
Step 3: Content Calendar Planning
The Content Calendar Planning window has two steps.
Step 1/2: generation and schedule settings
Under Content Generation:
AI Model: the model that writes the posts.
Image Generation: Generate images or No images.
Link Generation: Include links or No links. With links on, the AI adds relevant internal and external links.
Under Publishing Schedule:
Start Date: the date of the first post. It can't be in the past.
Publishing Time: the time of day for each post.
Publishing Frequency: Daily, Every Other Day, Every 3 Days, Weekly, Bi-Weekly or Monthly.
Click Continue.
Step 2/2: Review Schedule & Keywords
Check the list. Each item shows its planned date, campaign, title and description, calculated from your schedule.
Drag items to change their order.
Edit or remove items if needed.
Under Keywords, click Generate to let the AI suggest keywords, or Select to pick keywords from the company's keyword library.
Choose how to finish (see below).
Finishing the plan
Button | What happens |
|---|---|
Save Plan | Saves the plan and opens your Content Plans. Nothing is written yet. You can start writing later from the plan. |
Save & Start Writing | Saves the plan and starts writing a blog post draft for every item. You are taken to the Task Queue to follow progress. |
Send via Email | Opens Send list via email. Your own email address is filled in; add more addresses (press Enter after each one) and click Send Email to email the list of topics. |
Back | Returns to the settings step. |
If you forgot to select items or fill in the schedule, you see "Please select at least one content item" or "Please fill in all required settings".
What happens after Save & Start Writing
You see "Content generation started successfully!" and the Task Queue opens. Each post is a task that moves from Pending to Running to Completed. See Content Proposals, Ideas and Content Plans.
The writing runs on the server, so you can leave the page.
Each finished post is saved as a draft blog post for the website, dated according to your schedule. You get a notification in the bell ("The blog post has been generated with recommendations. Click this notification to start editing.") that opens the post in the blog editor.
The drafts are not published automatically. Open each draft, check it, and then publish, schedule or send it for approval. See The Posts overview: finding and managing posts.
Editing a saved plan
Open Content Plans, click a plan, and click Edit Plan. The Post Planner opens with the plan loaded, and the save button reads Update Plan.