The AI Writer creates a first draft for you in three short steps: choose the type of content, describe the topic, and set the options. It uses the company's AI Memory so the text talks about the real business. When you're happy with the result, send it to the blog editor to polish and publish.
Before you start
Select the right company and website in the top bar. The AI Writer uses that company's AI Memory, and sending a text to the blog editor needs a selected website. See Choosing your company and website.
Opening the AI Writer
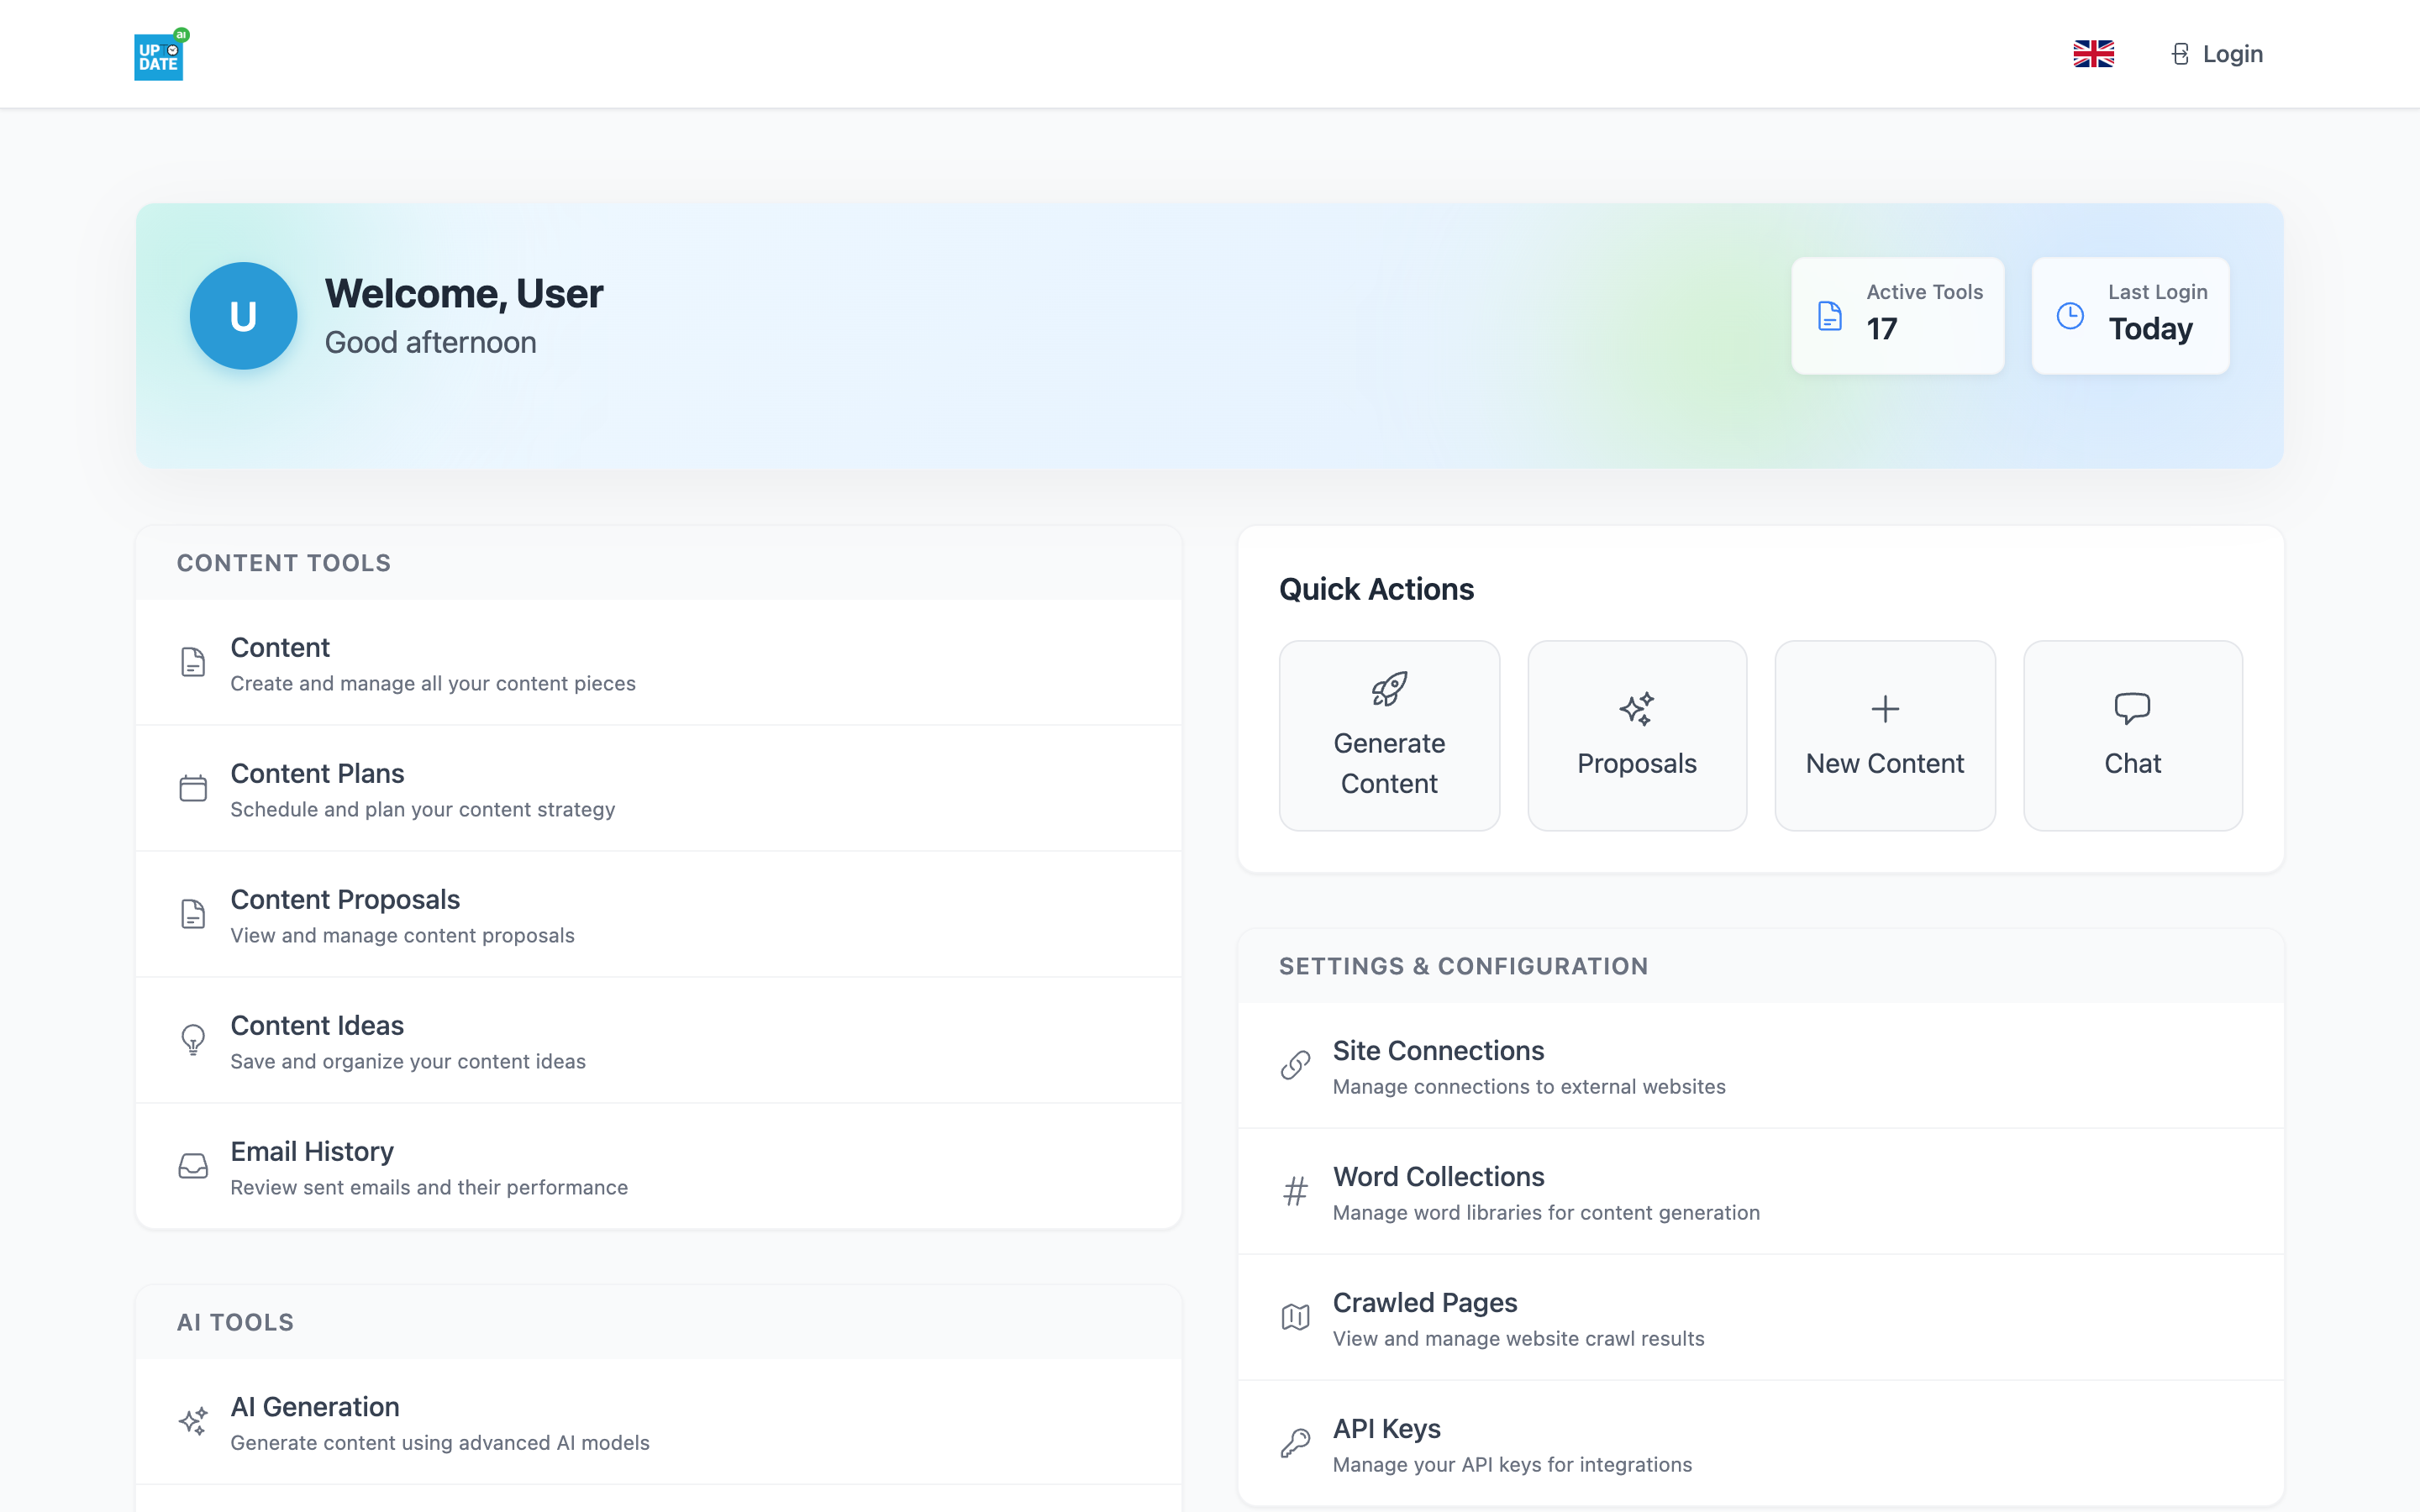
Click the AI Writer card in the Most Used section of the AI App dashboard.
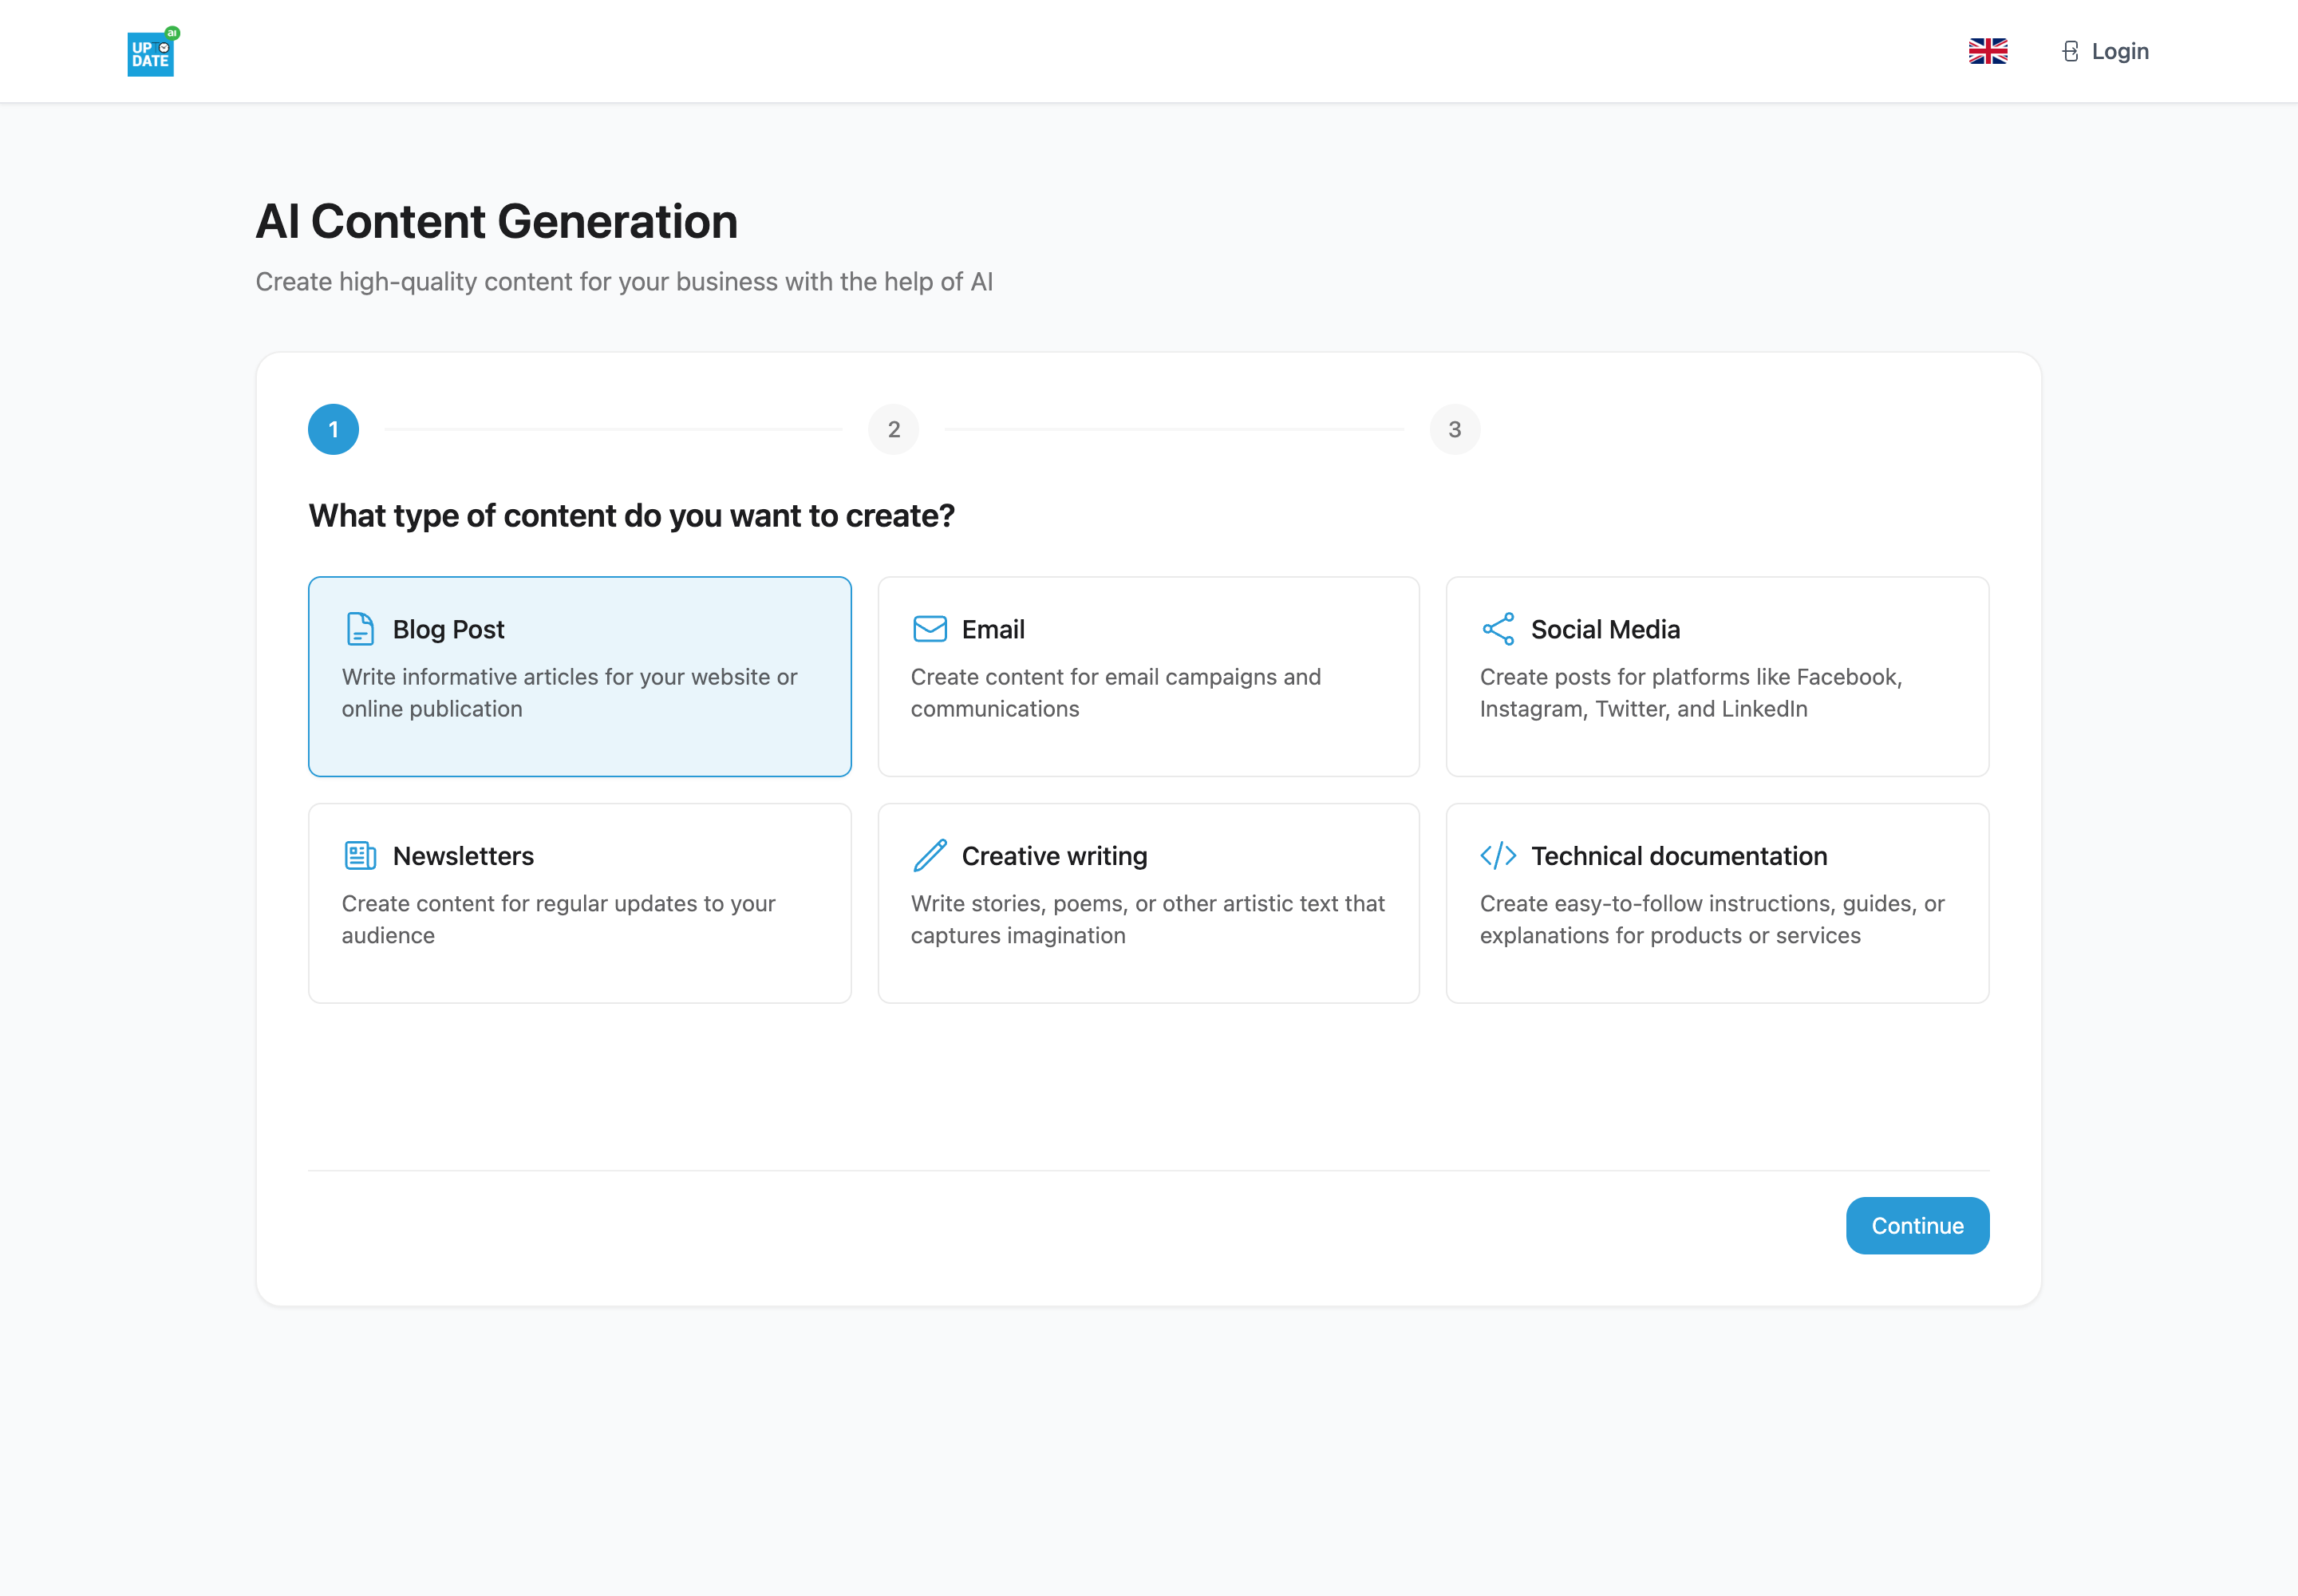
The wizard shows a progress bar with steps 1, 2 and 3. Use Continue to go forward and Back to go back.
Step 1: Choose the type of content
Under "What type of content do you want to create?", click a card. The most used types are:
Blog Post (selected by default)
Email
Technical documentation
Click Continue.
Tip: For social media posts, use the Social Post screen. It lets you pick accounts and adjust the text per channel. See Creating social posts.
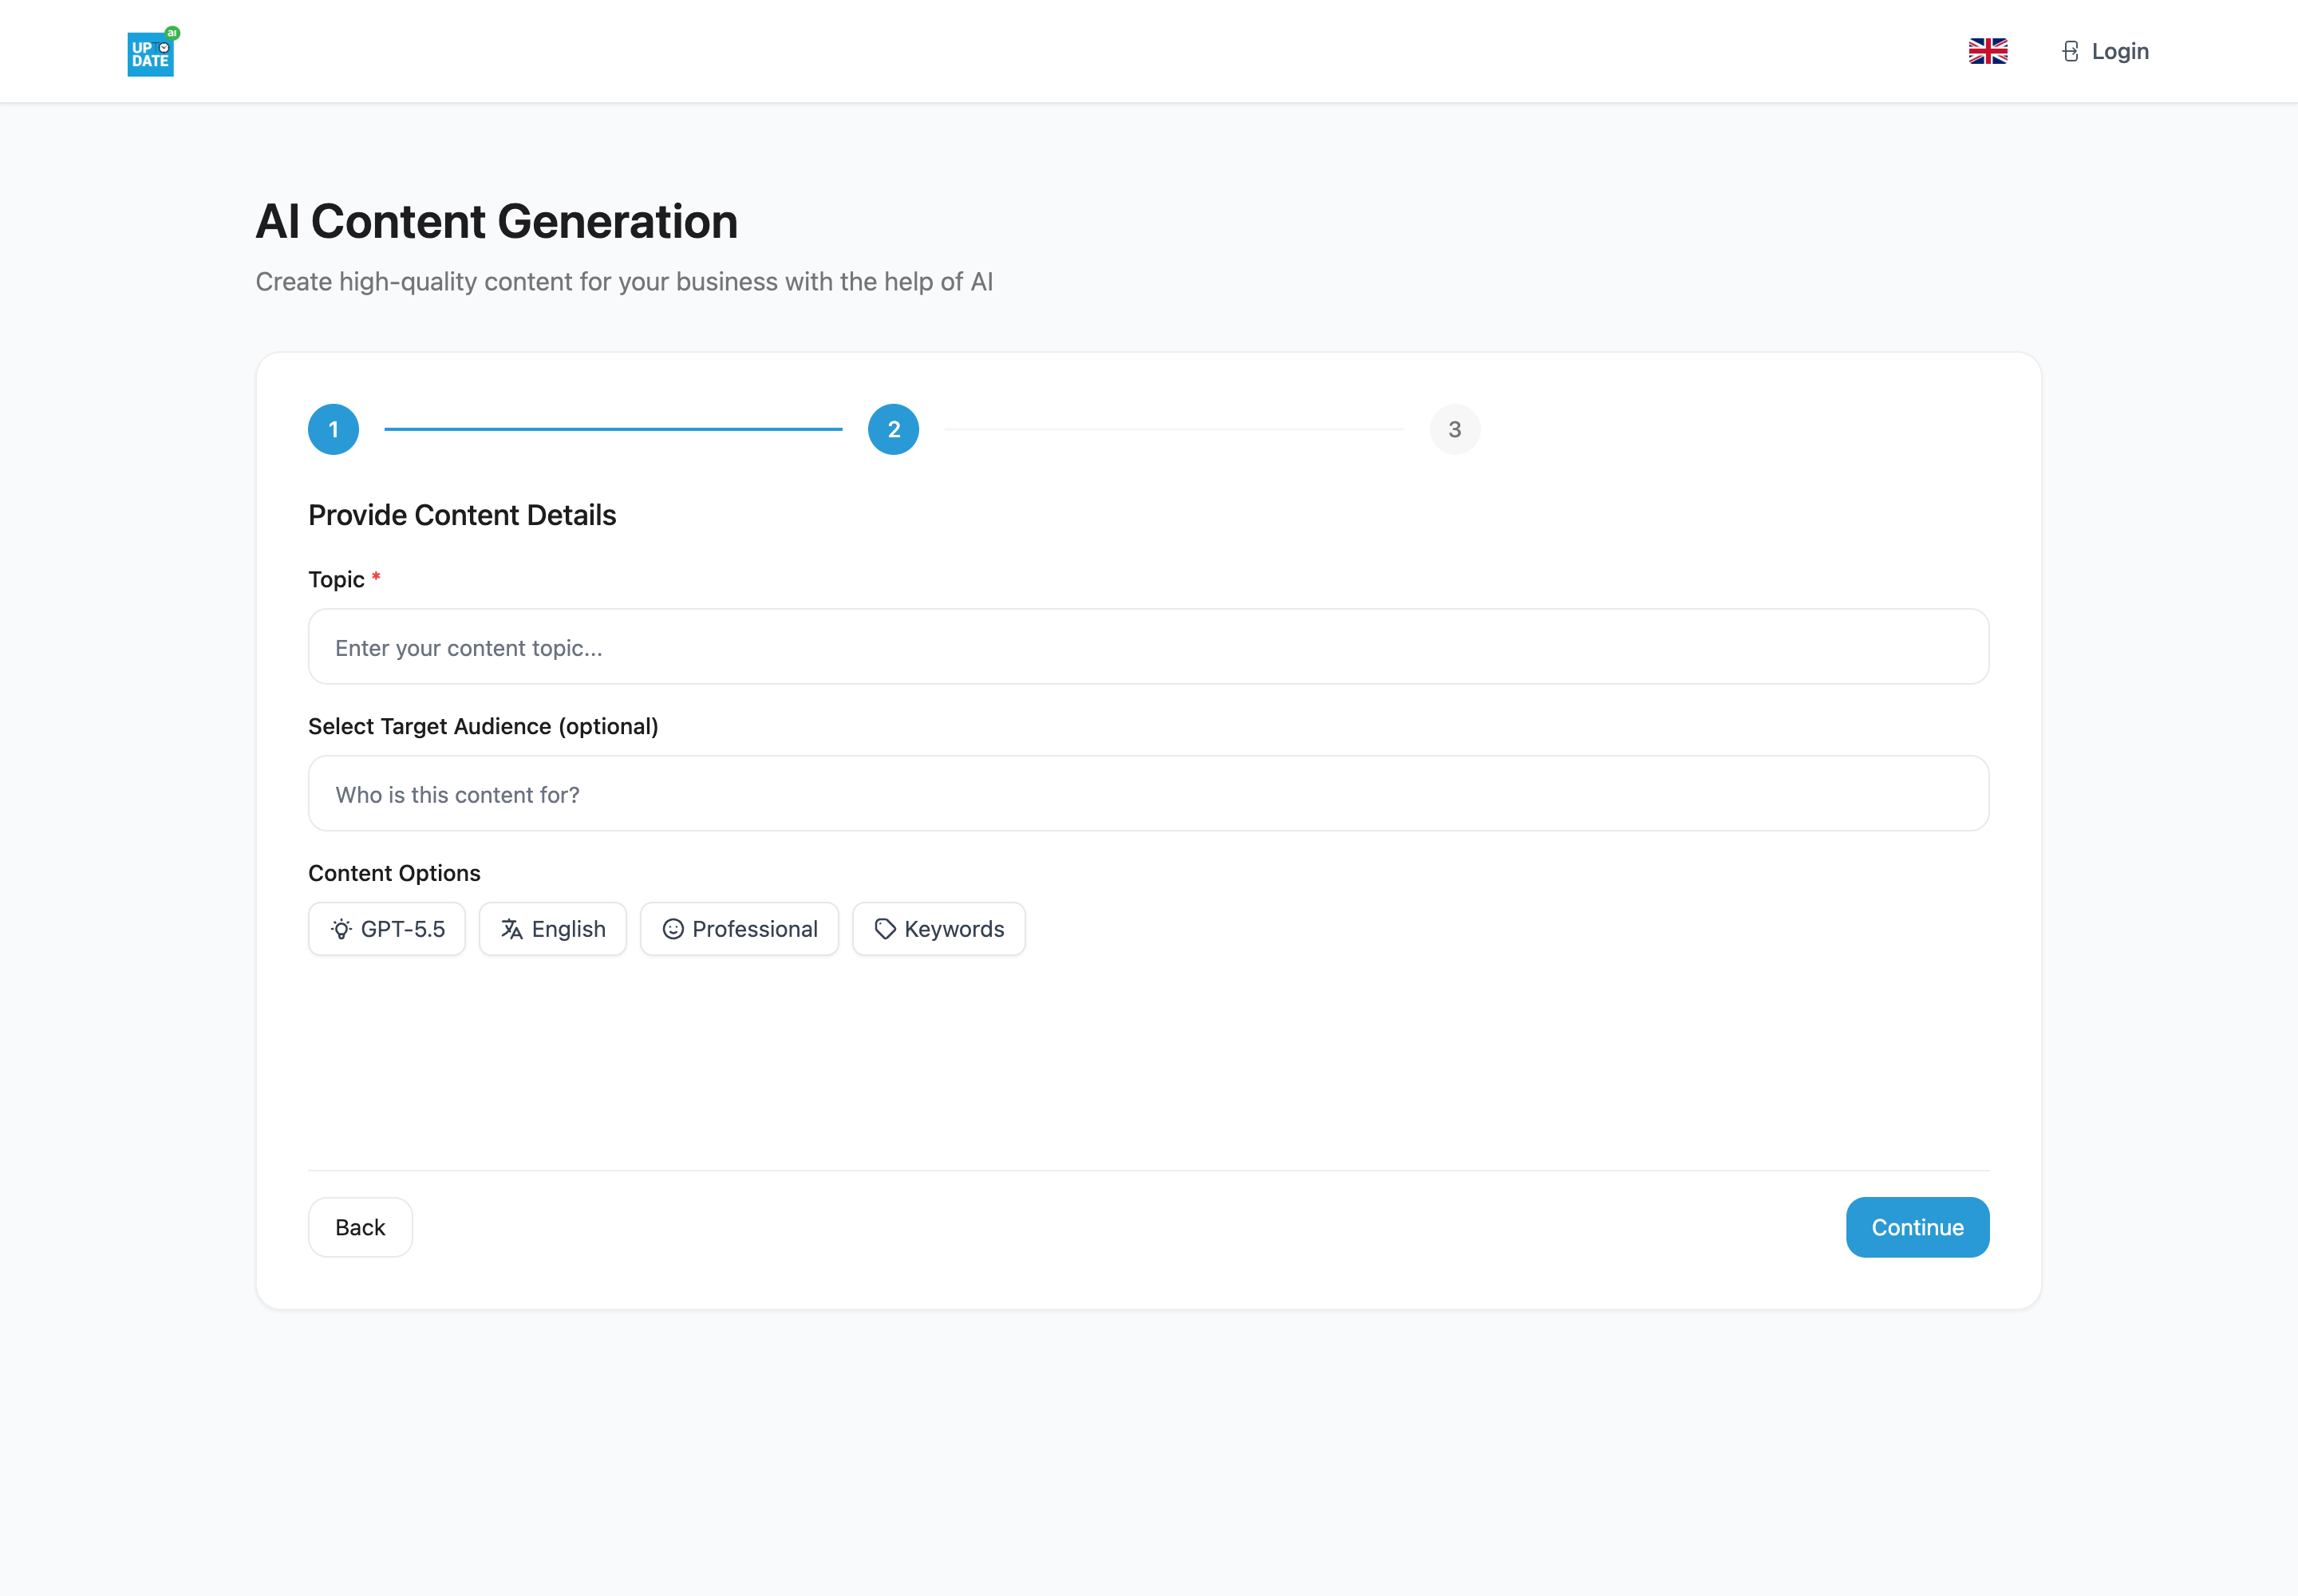
Step 2: Provide content details
In Topic, describe what the content is about. This field is required.
Need inspiration? Click the ideas button next to Topic (for a blog post it reads Get Blog Ideas).
A window with title suggestions opens. To steer them, type in "What would you like to see in the recommendations?" and click Apply, or click Regenerate.
Click a title to put it in Topic.
After you close the window, View Recommendations brings the suggestions back.
Under Select Target Audience (optional), click one of the audiences saved in the company's AI Memory, or describe your own. Generate with AI writes an audience description for you.
Check the Content Options chips. Click a chip to change it, then click Apply:
Memory: the AI Memory the text is based on.
Model: the AI model (Select AI Model).
Language (Select Language): follows the website's language automatically.
Tone (Select Tone): Professional by default.
Keywords: keywords from the company's AI Memory. A moment after you stop typing the topic, up to 5 matching keywords are picked for you.
Examples: shows only when the company's memory has Content Examples.
Click Continue.
Step 3: Set the options
The options depend on the type you chose.
Type | Options |
|---|---|
Blog Post | Post Structure (for example General Article, How-to Guide, Listicle, Case Study) and Word Count Target: Short (~250 words), Medium (~500 words, default), Long (~1000 words), Very Long (~2000 words) |
Email Type, Target Length (Brief, Standard, Detailed), CTA Style and Personalization Level | |
Technical documentation | Documentation Type, Technical Level and Include Examples |
Under Additional instructions (optional), add anything else the AI should keep in mind, for example "mention the free consultation" or "no jargon".
Click Generate Content.
Include company information
Under every step you see the checkbox Include company information in generation. It is checked by default: "AI will use your company profile to generate more relevant content".
When it is checked, the AI reads the company's AI Memory. For blog posts it also uses the company's Content Examples as a style reference. Leave it checked unless you want a completely generic text.
Tip: The better the AI Memory, the better the draft. Fill in How we write and add Content Examples. See How we write: house rules for the AI and Content Examples: showing the AI what good looks like.
Reviewing the result
The Generated Content window opens and the text appears as it is written. While the AI looks things up, an "AI is researching:" panel shows its steps, such as reading the company memory or searching the web. Click Stop to cancel.
When the text is ready, use the buttons at the bottom:
Button | What it does |
|---|---|
Regenerate | Writes the text again. |
Copy to clipboard | Copies the text. |
Add to Blog | Opens the blog editor with the text filled in. |
Add to Social | Shown for social content. Opens the social posting screen with the text filled in. |
Advanced Edit | Shown for blog posts. Lets you rework the text paragraph by paragraph. |
Important: The result is not saved. If you close the window, the text is gone. Copy it or send it to the blog editor first.
Advanced Edit
Click Advanced Edit.
Hover over a paragraph to see Continue, edit and delete.
Click Continue to let the AI write on from that point, or click edit to open the AI Writer panel. There you can change the text yourself (Apply Edit), or describe what the AI should do under "What would you like the AI to do with this text?", optionally add Keywords (optional), click Generate Proposal and then Insert.
Note: When Advanced Edit is open, Add to Blog sends the version you edited there. Copy to clipboard still copies the original generated text.
Sending the text to the blog editor
Click Add to Blog. The text is also copied to your clipboard.
The blog editor opens. The first heading of the text becomes the post title.
The editor asks "Would you like to expand the content?" with Improve Content and Manage link recommendations. Use them or close the question.
Add a cover image, labels and a call to action, then publish, schedule or send the post for approval. See Writing and publishing in the blog editor.
If no website is selected, you see "This feature is only available when you connect your website." Select a website in the top bar and try again.